I love pizza. Not as much as I love Chinese food and dessert, but it’s definitely one of my top favorite foods. What I don’t appreciate about pizza, though, is how unhealthy and greasy it is. I typically blot off some of the grease with a napkin, but even at that there’s still a lot. So to keep myself from feeling totally guilty, I like to make homemade pizzas. It might not be enough to reclassify pizza has “healthy food,” but I feel like making homemade pizza takes some of the unhealthy components out of it (plus, you know what exactly is going in your pizza, and who is handling it).
It’s definitely a lot harder to make a pizza crust from
scratch rather than buying a pre-made one or a pizza kit, but this pizza crust
isn’t really that hard. It’s very flavorful, too! Not to mention, when I do all
of the work, I kinda feel like I deserve the pizza.
The dough needs to rise in a warm place for about an hour,
so I like to have my oven preheated to the temperature 400 degrees for that
long and have the bowl with the dough sit on top of it. So go ahead and preheat
your oven to 400 degrees. If you aren’t interested in doing that, just have a
warm, dry place ready for your dough, and preheat the oven around the time you’re
going to bake the pizza.

First, combine 1 Tbsp olive oil, ½ Tbsp stevia* (the
granulated kind), 1 tsp salt, and 1 Tbsp active dry yeast in a large mixing
bowl. You can also add seasonings to your crust by adding them in at this step
(I typically do ½ tsp oregano, ½ tsp basil, and ½ tsp garlic and herb).

When the ingredients have combined, pour in 1 cup of warm water and stir until the yeast has dissolved.

When the ingredients have combined, pour in 1 cup of warm water and stir until the yeast has dissolved.
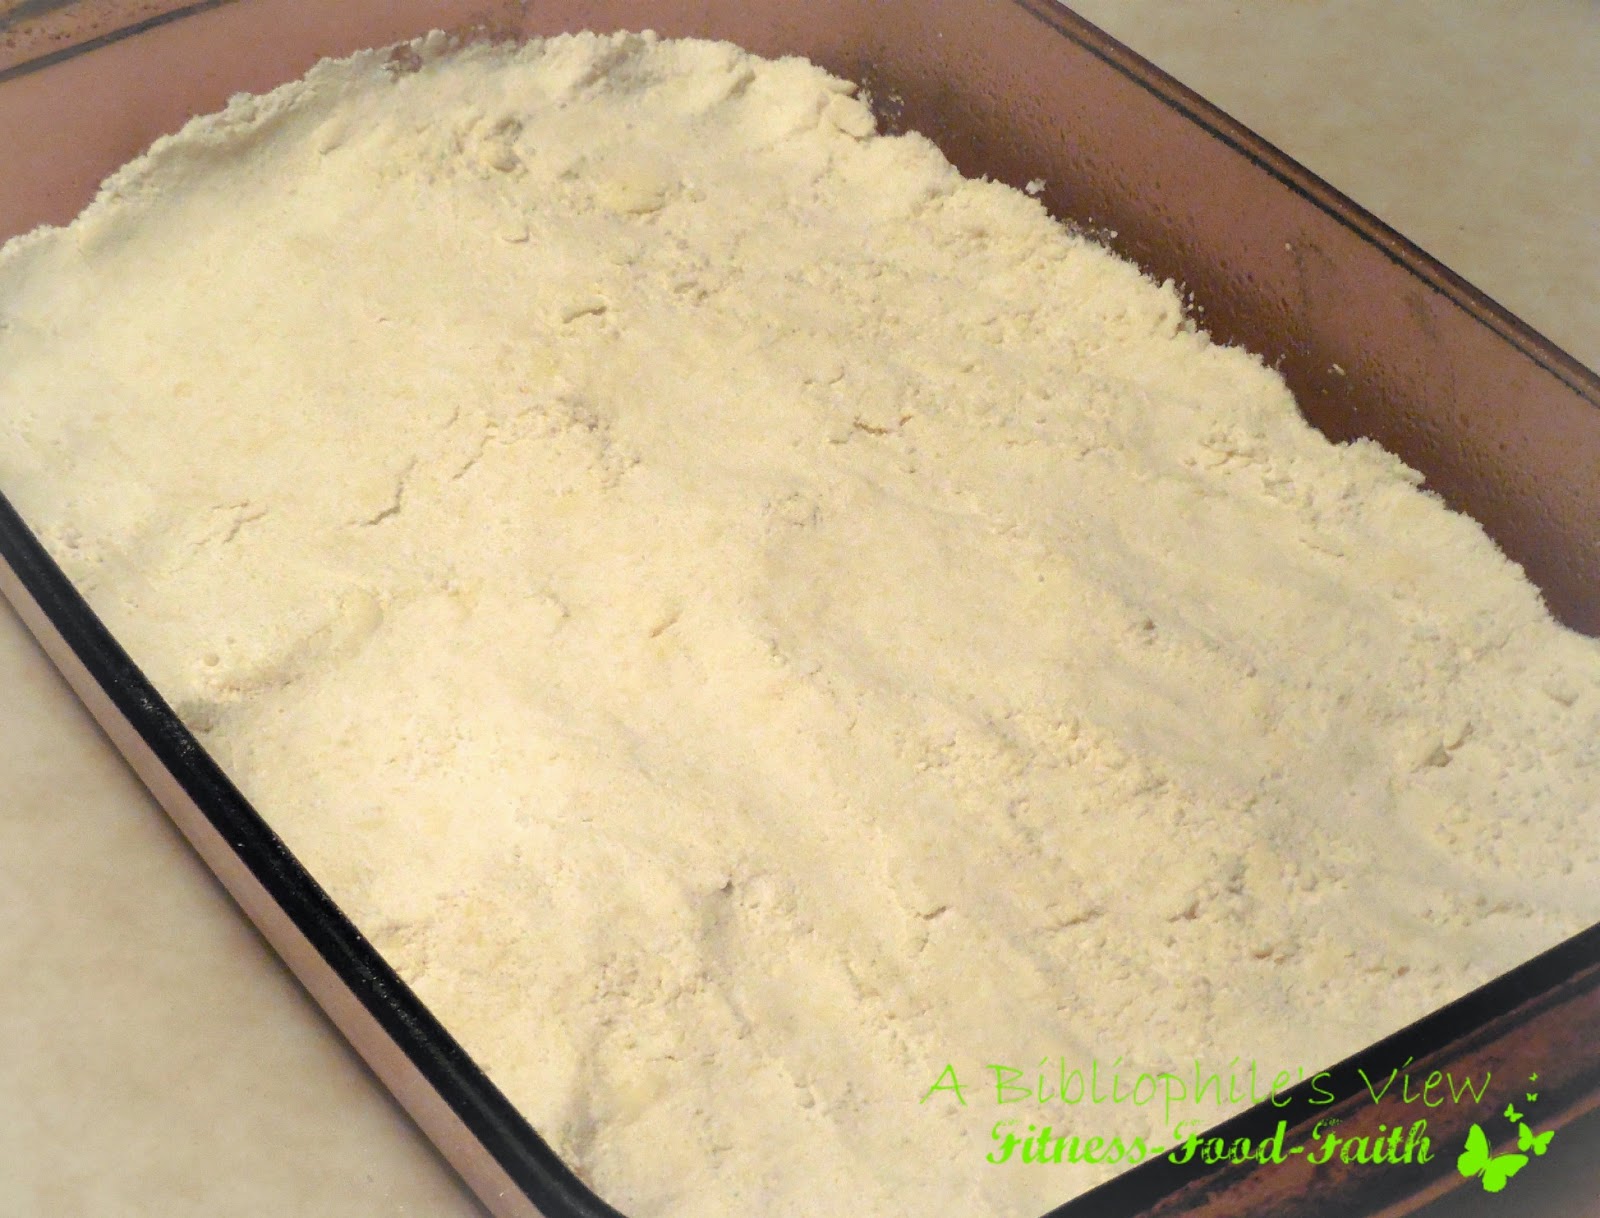
Once the yeast has dissolved, add the flour. I do a mixture
of all-purpose and whole wheat flour, by combining 1 cup of whole wheat with
the wet ingredients, followed by mixing in 1 cup of all-purpose flour, and then
¼ cup of whole-wheat and ¼ cup of all-purpose. You do not want a dry dough. You
want the dough to be slightly wet (especially if using whole wheat – you want
it to feel kind of tacky) but not so much that it sticks to your fingers. If
the dough is sticking to your fingers, add in another ¼ cup of flour.
Once your dough is formed, plop it onto a floured surface
and knead for about 8 minutes. Put it back into the bowl, cover, and set the
bowl in a warm, dry area and let the dough rise for about an hour. You’ll know
it’s ready when it’s doubled in size.

When the dough is ready, grease a round pizza pan (12”-13”)
with about a tsp or so of olive oil. Plop the dough onto the greased pan and
carefully work it out so that it fills the pan. Top with your favorite toppings
(I do the classic – pizza sauce, mozzarella cheese, and pepperoni) and bake in
your preheated oven at 400 degrees for about 18 minutes, give or take a minute
(when the crust is slightly golden brown).

Serve and enjoy!
*If you don’t have granulated stevia, you can substitute
your preferred granulated sweetener. However, stevia is 4 times as sweet as
sugar, so, if you use sugar, you will use 2 Tbsp.
Homemade Pizza With Savory Crust
Ingredients
1 Tbsp olive oil
½ Tbsp granulated stevia*
1 tsp salt
1 Tbsp active dry yeast
½ tsp oregano, ½ tsp basil, and ½ tsp garlic and herb (if desired)
½ tsp oregano, ½ tsp basil, and ½ tsp garlic and herb (if desired)
1 cup warm water
2 ½ - 2 ¾ cups of flour (all-purpose, whole wheat, or a
mixture of both; I typically do half whole wheat and half all-purpose)
Extra flour for dusting
1-2 tsp Olive oil for greasing pan
Desired toppings
*If you don’t have granulated stevia, you can substitute
your preferred granulated sweetener. However, stevia is 4 times as sweet as
sugar, so, if you use sugar, you will use 2 Tbsp.
Directions
The dough needs to rise in a warm place for about an hour,
so I like to have my oven preheated to the temperature 400 degrees for that
long and have the bowl with the dough sit on top of it. So go ahead and preheat
your oven to 400 degrees. If you aren’t interested in doing that, just have a
warm, dry place ready for your dough, and preheat the oven around the time you’re
going to bake the pizza.
First, combine olive oil, stevia, salt, and yeast in a large
mixing bowl. If desired, you can also add seasonings to your crust by adding
them in at this step (I typically do ½ tsp oregano, ½ tsp basil, and ½ tsp
garlic and herb). When the ingredients have combined, pour in the water and
stir until the yeast has dissolved.
Once the yeast has dissolved, add the flour. I do a mixture
of all-purpose and whole wheat flour, by combining 1 cup of whole wheat with
the wet ingredients, followed by mixing in 1 cup of all-purpose flour, and then
¼ cup of whole-wheat and ¼ cup of all-purpose. You do not want a dry dough. You
want the dough to be slightly wet (especially if using whole wheat – you want
it to feel kind of tacky) but not so much that it sticks to your fingers. If
the dough is sticking to your fingers, add in another ¼ cup of flour.
Once your dough is formed, plop it onto a floured surface
and knead for about 8 minutes. Put it back into the bowl, cover, and set the
bowl in a warm, dry area and let the dough rise for about an hour. You’ll know
it’s ready when it’s doubled in size.
When the dough is ready, grease a round pizza pan or stone
(12”-13”) with about 1 tsp or so of olive oil. Plop the dough onto the greased
pan and carefully work it out so that it fills the pan. Top with your favorite
toppings (I do the classic – pizza sauce, mozzarella cheese, and pepperoni) and
bake in your preheated oven at 400 degrees for about 18 minutes, give or take a
minute (when the crust is slightly golden brown).
Serve and enjoy!
I’ve also made a buffalo ranch chicken pizza with this crust
recipe, and it is delicious! What are your favorite types of pizzas?
Molly